

How to create a service
With the Silverstreet Mobile Communicator you can manage your services. Our services offer you functionality to for example send E-mail, SMS or manage your contacts in an address book.
In this tutorial we will explain how you can create a service. Once you have created a service, you can manage the settings of that service. You can find more information on how to manage those settings by clicking on a link of one of the below services.
We offer the following services:
- Number Lookup
- Push
- Verification
- VMN App
Service list
When you open the services page you will get a list of your existing services.
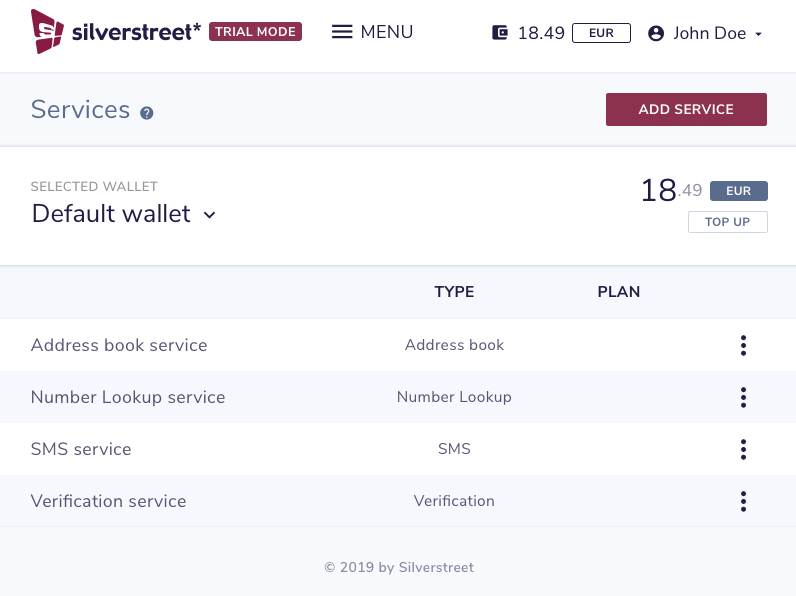
By clicking on a service, you will open the service where you can manage the settings of the service. See above for links to tutorials explaining what you can manage for the various services.
Create a new service
Creating a service is done in a few simple steps. Let’s guide you through it step-by-step.
Creating a `Virtual Mobile Number App` service has a different flow, but we will guide you through that flow in the tutorial `How to install the virtual mobile number app`.
Step 1
To add a new service, click on the `Add service` button in the top right corner.

Step 2
Select the service you want to add and press the `Next` button.
When you already have a service of the type you selected, you will see a notice at the bottom of the screen. When you press the `Next` button, you will create another service of the same type.

Step 3
For the `E-mail` and `Push` services a subscription is required. For the other services not, you will then continue with step 4.
Select the subscription you would like to use. The costs for the first month will be deducted directly when you create the service. The costs for the first month are pro rata. Select your preferred and press the `Next` button.

Step 4
For the `E-mail`, `Push` and `Address book` services you have to select a node. For the other services not, you will then continue with step 5.
Select the API node you want to create the service for. Nodes are located at different locations, for best performance select the node closest to your server.
Select the API node and press the `Create` button. You service will now be created. When created you can manage the settings of the service, see at the top of this tutorial for links to tutorials explaining what you can manage for the various services.

Step 5
For the `SMS`, `Verification` and `Number Lookup` services you will be asked to confirm you want to create the service.
Press the `Create` button. You service will now be created. When created you can manage the settings of the service, see at the top of this tutorial for links to tutorials explaining what you can manage for the various services.